Crafting a DIY watering can for plants offers a practical, eco-friendly solution for indoor gardeners utilizing household recyclables. By transforming everyday containers like plastic bottles or milk jugs into functional garden tools, you can easily regulate water flow for delicate houseplants and balcony containers.
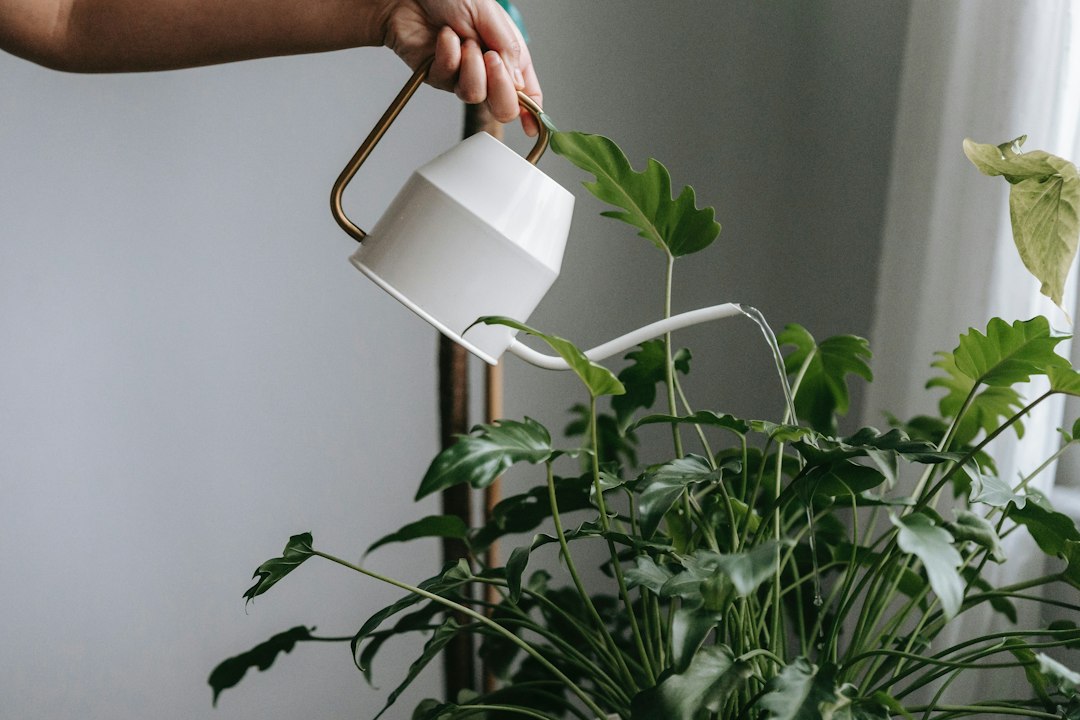
Creating your own watering device requires minimal tools, typically just a heated pin or needle to puncture precise dispensing holes in the cap. This custom approach allows you to tailor the spout design, droplet size, and container capacity to match the specific watering needs of your potted greenery.
Beyond resourcefulness, a handmade watering vessel provides an accessible way to care for indoor flora without purchasing specialized equipment. Proper construction ensures comfortable handling and prevents accidental soil erosion, safeguarding root systems during routine watering sessions.
Materials and Container Selection
Plastic Bottle Selection
Choosing the right plastic bottle forms the foundation of a successful homemade watering vessel. Look for containers with sturdy walls and ergonomic grip contours, such as juice or soda bottles, which withstand frequent handling during routine plant care sessions.
Thicker plastics resist warping when filled with water and gently squeezed, offering superior pressure control over the stream. Thoroughly wash, sanitize, and remove all label residue from the interior and exterior to ensure a clean surface before beginning any structural modifications.
Metal Can Conversion
Metal soup or coffee cans offer a rigid, durable alternative for crafting traditional-style watering vessels. Select cans free from heavy interior linings or sharp rims that might flake off during prolonged exposure to moisture.
Ensure the metal is completely rust-free before starting your project to maintain water quality. Adding a securely attached wire handle transforms these cylindrical containers into classic, long-lasting tools for balcony or indoor plant maintenance.
Recycled Jug Options
Gallon or half-gallon milk and vinegar jugs provide high-capacity solutions for watering multiple large potted houseplants. Their built-in handles make them exceptionally easy to grip, balance, and tilt during heavy watering tasks.
Due to their flexible plastic composition, these jugs allow
users to gently squeeze the body to accelerate water delivery. Always rinse the interior thoroughly with mild soap to eliminate any lingering odors or residue before filling with plant water.
Creating the Precision Spout
Pinpoint Punching Techniques
Punching precise holes into the bottle cap creates an effective rose spout that mimics commercial watering cans. Use a pushpin or sewing needle pressed firmly against the plastic surface to generate uniform, narrow streams of water.
Maintain consistent spacing between each puncture to distribute water evenly across the soil surface. Crowded holes can weaken the plastic cap and cause the streams to merge into an uncontrollable, heavy torrent.
Needle Heating Methods
Heating a metal needle or awl using pliers over an open flame speeds up the perforation process significantly. The hot metal melts cleanly through plastic caps without cracking or distorting the surrounding material structure.
Always perform this heating step in a well-ventilated area and wear heat-resistant gloves for personal safety. Wipe the needle clean between punctures to prevent melted plastic buildup from clogging the tool during hole creation.
Hole Sizing and Flow Control
Varying the diameter of your cap perforations allows you to control the exact water flow rate for different container sizes and soil mixes. Puncturing ultra-fine holes with a sewing needle produces a soft, low-pressure shower ideal for surface-germinated seeds, delicate fern fronds, and tender propagation cuttings that dislodge under standard faucet pressure.
Larger holes work well for robust potted plants that require deep soil saturation without lengthy watering periods. Test the flow pattern over a sink before using the can on vulnerable plants to verify droplet distribution accuracy.
Assembly and Leak Prevention
Lid Seal Modifications
Ensuring a tight, leak-free seal between the bottle cap and the threaded neck prevents messy spills during use. Wrap a small amount of plumber’s tape around the bottle threads before screwing the modified cap back into place.
This simple step stops water from leaking out the sides while you tilt the container downward. Check the seal periodically, as unscrewing the cap repeatedly for refilling can cause the tape to bunch or wear over extended periods of regular gardening use.
Handle Attachment Stability
Many DIY containers lack ergonomic handles, requiring custom additions to improve pouring balance and comfort. Securely attach a sturdy wire or looped cord around the neck and base of the bottle using waterproof adhesive tape.
Ensure the added handle supports the full weight of the water without shifting or slipping off balance. Test the grip stability over a basin to confirm that the container tilts smoothly without straining your wrist joints.
Testing Structural Integrity
Before bringing your handmade watering can near prized indoor houseplants, conduct a thorough structural integrity test outdoors. Fill the container completely with water and inspect the body, seams, and cap for unexpected leaks or weaknesses.
Gently squeeze the container walls to simulate standard watering pressure and observe the resulting stream angles. Inspect the threading closely to confirm that liquid does not seep backward down the neck. Addressing small perimeter leaks immediately with plumbers tape or silicone sealant prevents annoying drips across indoor carpets, hardwood flooring, and decorative furniture surfaces.
Application Techniques for Potted Plants
Gentle Seedling Irrigation
Germinating seeds and fragile young seedlings require delicate watering to avoid flattening stems or dislodging roots. Use a DIY can featuring micro-perforations to deliver a soft, rainfall-like shower directly over the propagation tray.
Hold the container several inches above the propagation flat to disperse droplets in an even, gentle pattern. This calibrated approach preserves fragile root hairs, prevents surface crusting on delicate germinating media, and ensures tiny seeds remain anchored in place rather than washing into clumps at the bottom of the tray cells.
Reaching Trailing Foliage
Hanging baskets and trailing houseplants often present watering challenges due to dense foliage blockages overhead. A customized DIY container with a slightly extended spout helps direct water past hanging leaves straight into the soil.
Tilt the vessel carefully to navigate between long vines without snapping fragile stems or wetting sensitive foliage excessively. Directing water to the soil line rather than the leaves helps prevent fungal issues common in humid indoor environments.
Direct Soil Line Delivery
Potted houseplants with dense foliage benefit greatly from targeted watering directly at the base of the plant. A narrow-stream DIY spout allows you to bypass crowded leaves and deliver moisture precisely where the root system absorbs it.
Position the spout close to the potting mix surface and pour slowly in a circular motion to moisten the substrate evenly without channeling along the pot edges. This targeted delivery conserves water, prevents dry pockets from forming in dense root balls, and minimizes splashing that could displace loose perlite or bark onto surrounding foliage.
Before applying moisture from above, you might want to check if you can bottom water certain sensitive indoor species instead.
Frequently Asked Questions
Can I use rusted metal cans for indoor plants?
Using rusted metal cans for indoor plant care is generally discouraged primarily because corrosion compromises the container’s structural seams, leading to sudden leaks and spills. While minor iron oxide flakes are not inherently toxic to potting soil, deteriorating cans often develop jagged edges, shed tin plating, or harbor degraded seam solders that make handling unsafe and messy indoors.
If you prefer a metallic aesthetic for your DIY watering tool, select stainless steel containers or apply a food-safe waterproof sealant over the interior surfaces. Always inspect recycled metal vessels regularly for signs of corrosion before using them around valuable houseplants.
How do I prevent algae growth inside a clear plastic DIY can?
Algae thrives inside clear plastic containers when exposed to ambient indoor light and standing moisture. To prevent green buildup, store your DIY watering can in a dark cupboard between uses rather than leaving it on a sunny windowsill.
Alternatively, wrap the exterior of the clear bottle with opaque tape, craft paper, or dark fabric to block light penetration entirely. Emptying and thoroughly drying the container after each watering session also inhibits unwanted organic growth and keeps water fresh.
What is the best way to clean mineral buildup from makeshift spouts?
Mineral deposits from hard tap water can quickly clog the tiny holes punched into your DIY watering cap. To dissolve these crusty white calcium buildups, submerge the perforated cap in a small bowl filled with white vinegar for thirty minutes.
After soaking, use an old toothbrush or a clean sewing needle to gently clear away loosened mineral debris from each individual hole. Rinse the cap thoroughly with fresh water to remove any lingering vinegar residue before using it on your houseplants again.
How can I prevent a DIY watering can for plants from washing away topsoil?
A makeshift DIY watering can for plants can sometimes deliver water too forcefully, creating craters in lightweight potting mixes and exposing delicate surface roots. To mitigate this issue, refine your cap’s perforation layout by punching smaller, well-spaced holes that disperse the water stream into a gentle, rainfall-like shower rather than heavy droplets.
Additionally, hold the container at least six to eight inches above the plant and tilt it gradually to moderate the flow rate. Pouring water slowly over a small piece of plastic mesh or directly onto a spoon held flat against the soil surface also helps deflect and diffuse the initial impact safely.
Is it safe to mix liquid plant fertilizer inside a DIY watering can for plants?
Mixing water-soluble fertilizers inside a recycled plastic bottle DIY watering can for plants is generally safe for short-term use during routine feeding schedules. However, lingering chemical residues can degrade certain types of thin household plastics over time, potentially weakening the container seams or leaching unwanted additives into your nutrient solution.
Always dilute your concentrated liquid fertilizer strictly according to the manufacturer instructions before pouring it into your DIY container to prevent accidental root burn in sensitive houseplants. Furthermore, rinse the interior thoroughly with clean water immediately after every feeding session to prevent stubborn nutrient buildup, mineral scaling, and unwanted microbial growth inside the vessel.
Should I let tap water sit in a DIY watering can for plants before using it?
Allowing tap water to rest open in your DIY watering can for plants for twenty-four hours offers moderate benefits for certain indoor houseplants. This practice allows dissolved chlorine gas to dissipate into the surrounding air before watering. However, standing water does not remove chloramines, heavy minerals, or fluoride, which do not evaporate and may still cause leaf-tip scorch on sensitive species like calatheas, prayer plants, and spider plants. If municipal water utilities use chloramines or contain high mineral content, letting the water sit will not alter those dissolved compounds, meaning filtered water or rainwater remains preferable for vulnerable varieties.
Leaving the container filled overnight also helps bring cold tap water up to comfortable ambient room temperature, preventing sudden thermal shock to tropical foliage and roots. Just ensure the vessel remains loosely capped or covered with a breathable mesh to keep out household dust while still permitting adequate gas exchange.