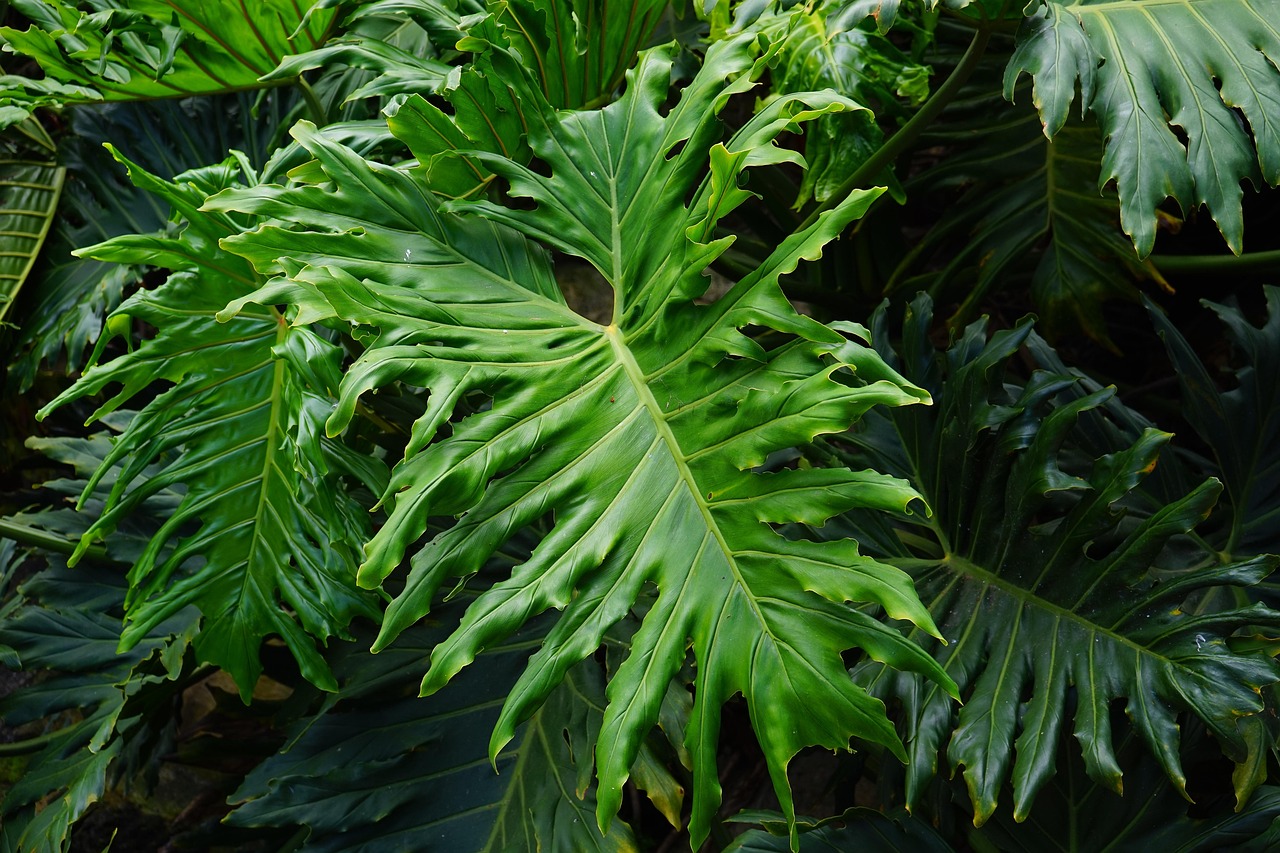
Propagating the plant commonly known as Philodendron selloum involves creating new independent specimens from established mature houseplants. Gardeners typically rely on stem cuttings or root division to multiply their collections successfully at home. Understanding the biological growth habits of this specific tropical aroid ensures higher success rates during the propagation process.
Stem cuttings require a visible node or aerial root origin along the main stem to generate new roots and shoots effectively. Division works best when a mature plant naturally produces distinct offsets or side shoots with their own root systems already attached. Both methods demand clean tools, appropriate potting substrates, and patience while root systems develop over several weeks.
Successful propagation also depends heavily on ambient environmental conditions like warmth, indirect light, and moderate moisture levels. Because these plants contain calcium oxalate crystals, protective gloves help prevent skin irritation during handling and cutting procedures. Careful observation allows growers to catch potential issues like stem rot early and adjust care routines accordingly.
Propagation Methods Overview
Stem Cuttings Mechanism
Propagating via stem cuttings relies on the plant’s ability to produce adventitious roots from specific nodes along mature stems. When a section containing a viable node is severed, auxiliary meristematic tissues shift their developmental pathway to form root structures instead of leaf buds.
This biological shift requires stored energy within the stem tissue, which is why selecting healthy, vigorous parent material significantly improves outcomes. Providing consistent warmth and moisture encourages these dormant cells to activate and begin producing root tips within several weeks.
Division and Offsets
Division involves separating naturally occurring offsets or pups from the base of a mature specimen during routine repotting procedures. These smaller offshoots often develop their own foundational root systems while still attached to the primary root ball of the parent plant.
Carefully untangling or cutting these established offsets minimizes damage to the delicate root hairs essential for quick recovery. Replanting each division into its own appropriately sized container allows independent growth without the competitive strain of a crowded root zone.
Evaluating Plant Maturity
Attempting propagation requires a plant with sufficient maturity, typically characterized by a thick, woody stem or multiple established growth points. Immature specimens lack the stored carbohydrate reserves necessary to sustain tissue healing and root regeneration without leaves.
Inspect the candidate plant for signs of active seasonal growth, pest freedom, and robust overall vigor before taking any cuttings. Selecting sturdy, well-established parent plants ensures that the resulting propagules possess the resilience needed to transition into independent potted specimens.
If you want to try related tropical species, understanding monstera adansonii how to propagate provides a great secondary project.
When exploring various techniques, you might also want to learn effective methods to propagate monstera adansonii successfully in your indoor garden.
Tools and Workspace Preparation
Sterilizing Cutting Instruments
Clean cutting tools prevent the introduction of opportunistic bacterial or fungal pathogens into the vulnerable open wounds of the parent plant. Wiping sharp shears or pruning blades with rubbing alcohol creates a sanitized surface prior to making any cuts.
Dull blades crush vascular tissues rather than slicing cleanly, which creates jagged edges prone to moisture retention and subsequent rot. Maintaining sharp, sterile equipment safeguards both the donor specimen and the newly separated propagation material throughout the entire process.
Selecting Propagation Media
Choosing the correct rooting substrate prevents excessive moisture retention that frequently leads to stem rot in indoor environments. A loose, well-aerated blend of peat moss, perlite, and coarse sand provides optimal structural support and oxygen exchange.
Avoid heavy garden soils that compact easily and restrict airflow around developing root tips during the crucial initial rooting phase. Pre-moistening the propagation medium slightly before inserting the cutting ensures even moisture distribution without creating waterlogged conditions.
Managing Plant Sap Safety
Philodendron selloum tissues contain microscopic needle-like calcium oxalate crystals that can irritate human skin and mucous membranes upon contact. Wearing protective latex or nitrile gloves during cutting and handling prevents accidental transfer of irritating sap to sensitive areas.
Wash hands thoroughly with soap and water after completing any pruning or propagation tasks to remove residual plant sap completely. Keep work areas clear of curious pets or small children who might accidentally ingest fallen plant debris or sap-coated tools.
Executing Stem Cuttings
Identifying Suitable Nodes
Locating a proper node is the most critical step when preparing a stem cutting for successful indoor propagation. Nodes appear as small, slightly raised bumps or rings along the stem where previous leaves emerged and where new roots naturally form.
Select a section of stem that features at least one healthy node and ideally a short aerial root or leaf attachment point. Cuttings taken from smooth, internodal stem segments lack the necessary meristematic cells and will fail to produce roots entirely.
Making Clean Cuts
Position the sanitized pruning shears just below the identified node, angling the cut slightly to encourage optimal surface area exposure. A clean, diagonal slice reduces the risk of standing water pooling on top of the cut surface during the healing process.
Remove any lower leaves near the bottom of the cutting to prevent foliage from resting directly against the moist rooting medium. Leaving one or two upper leaves intact allows the cutting to continue minimal photosynthesis while conserving vital internal moisture.
Callus Formation Process
Allowing the freshly cut stem end to air-dry for several hours may encourage a surface callus to begin forming over the wound site. This surface drying may reduce the immediate risk of soil-borne bacteria and fungi entering the vulnerable vascular tissues before root initiation begins, though it does not guarantee protection.
Place the prepared cutting in a dry, shaded location out of direct sunlight while the cut surface dries and begins to firm. Skipping this drying step can increase the risk of bacterial soft rot, though rot risk also depends on soil moisture, tool hygiene, and ambient conditions.
For gardeners interested in branching out beyond aroids, studying begonia maculata how to propagate introduces complementary techniques for stem propagation.
The process shares similarities with propagating begonia maculata stem cuttings, requiring clean cuts and proper node placement.
Rooting and Early Care Management
Water versus Soil Rooting
Water rooting allows growers to visually monitor root development in real-time by placing the cut stem in a clear glass container. While convenient, water roots can differ structurally from soil roots, and some cuttings experience a period of adjustment when moved to potting mix.
Direct soil rooting eliminates transplant shock by encouraging the plant to produce sturdy, media-adapted roots from the very beginning. Both methods require clean water sources and consistent environmental parameters to support successful cellular transition and root growth.
Moisture and Humidity Control
Maintaining elevated ambient humidity around newly planted cuttings helps reduce moisture loss through remaining foliage during root development. Enclosing the potted cutting inside a clear plastic bag or propagation dome traps humidity effectively without restricting ambient light.
Monitor the soil moisture regularly, ensuring the substrate remains lightly damp but never soggy or waterlogged. Remove humidity covers periodically to allow fresh air circulation and prevent fungal mold growth on the soil surface.
Lighting for New Roots
Developing cuttings require bright, indirect sunlight to fuel the physiological processes necessary for generating new root structures. Direct, intense sunlight can scorch delicate leaves and overheat the restricted root zone before adaptation occurs.
Place containers near an east-facing window or use artificial grow lights positioned a safe distance above the foliage canopy. Avoid deep shade or prolonged darkness during propagation.
Frequently Asked Questions
Can I propagate from a single leaf?
Attempting to propagate this specific philodendron species using only a single leaf without an attached stem node is generally unsuccessful. While a severed leaf may develop a petiole root in water, it almost never generates shoots or a sustainable plant body due to a lack of meristematic buds.
To achieve true propagation, the detached cutting must include a piece of the main stem containing a viable node capable of producing new shoots. Always verify the presence of nodal tissue before investing time and space into any single-leaf propagation attempt.
Why are my cutting stems rotting?
Stem rot in propagation usually stems from overly wet soil conditions, lack of tool sanitization, or skipping the initial callus drying phase. When fungi or bacteria invade the soft interior tissues of the cutting, the stem turns mushy, brown, and foul-smelling.
Prevent rot by using sterile tools, well-draining soil mixes, and allowing cut ends to form a firm callus before planting. If rot occurs, trim away the affected brown tissue back to healthy green stem, sterilize, and restart the callusing process.
When should I transplant rooted cuttings?
Rooted cuttings are ready for transplanting into permanent containers once secondary roots measure at least two to three inches long. Gently tugging on the base of the cutting should reveal slight resistance, indicating a well-established foundational root network.
Avoid disturbing the fragile new root system prematurely while transferring the young plant into a slightly larger standard potting mix. Provide standard mature care routines once established, ensuring proper watering, drainage, and appropriate indoor lighting conditions.
Should I use rooting hormone on my cuttings?
Applying a commercial rooting hormone powder to the freshly cut and callused end of a philodendron selloum stem can accelerate root initiation. These preparations often contain synthetic auxins that can promote root initiation and elongation at the cut wound site. While not strictly mandatory for healthy, vigorous cuttings kept in optimal environmental conditions, rooting hormone can improve success rates when propagating older or slower-growing donor specimens.
To apply safely, pour a small amount of powder into a separate dish rather than dipping directly into the original container to avoid cross-contamination. Lightly dust the callused stem base, tapping off any excess powder before inserting the cutting into your moist, well-aerated propagation medium. Ensure the growing medium remains lightly damp to support the hormone’s action without encouraging fungal pathogens around the vulnerable stem tissue.
How do I transition a water-rooted cutting to soil?
Transitioning a philodendron selloum cutting from water to a standard potting mix requires careful timing to minimize transplant shock. Move the cutting into soil once the water roots reach approximately two inches in length and feature sturdy secondary branching. Waiting too long may produce roots more adapted to water conditions that can sometimes struggle to adjust to soil media, which may increase the risk of dieback after planting.
Plant the rooted cutting into a small, well-draining container filled with a loose peat and perlite potting blend, handling the delicate root system gently. Water the medium thoroughly immediately after planting to settle the soil around the roots, then keep the substrate consistently damp for the first two weeks. Gradually reduce watering frequency as the plant establishes itself, allowing the top inch of soil to dry out between waterings to encourage resilient root growth.