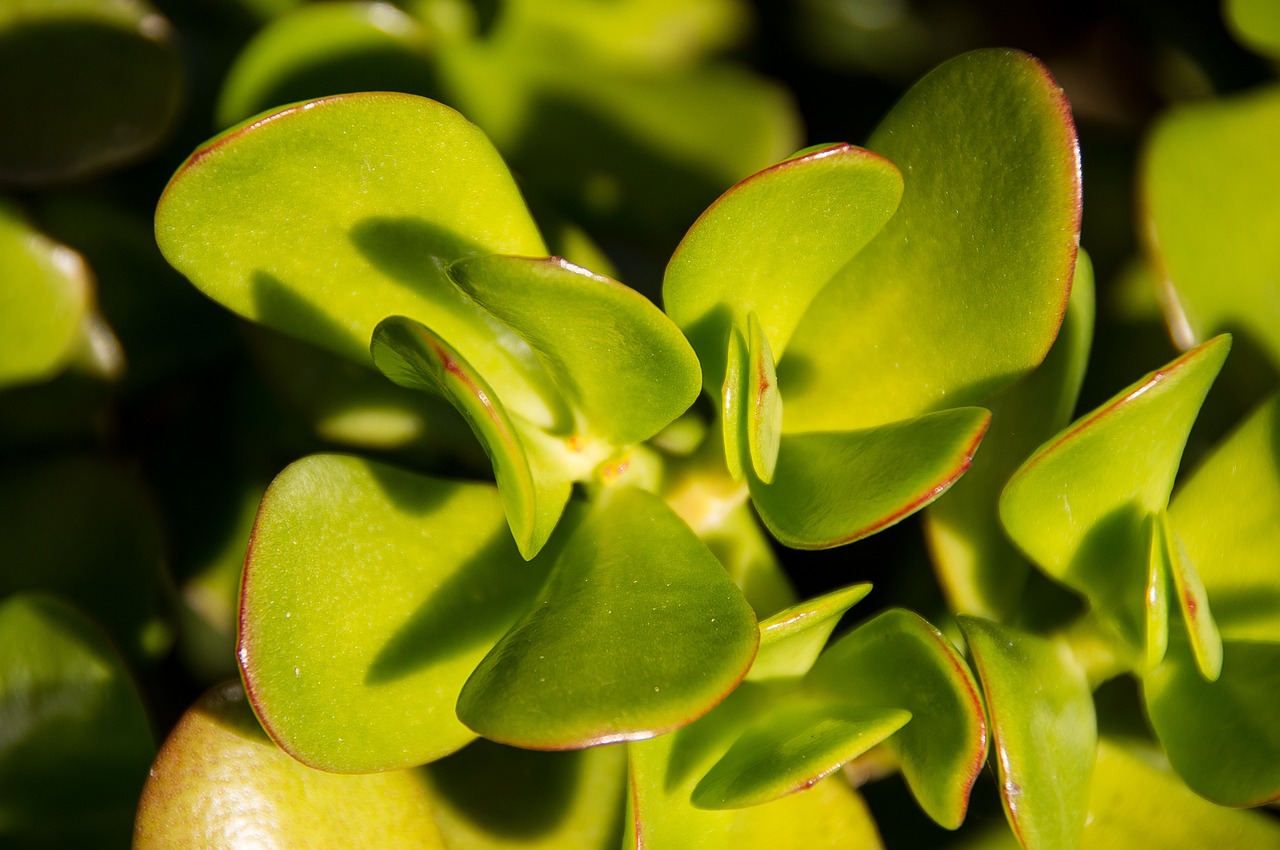
Propagating Crassula ovata, commonly known as the jade plant, is a straightforward horticultural process that relies on the succulent nature of the species. Because these plants store moisture in their thick leaves and stems, both leaf and stem cuttings can generate independent root systems without complex equipment or specialized chemicals.
Successful propagation depends primarily on environmental timing, sanitation, and moisture control. While jade plants possess high regenerative capacity, failing to let cut surfaces callus often leads to fungal decay before roots can emerge. Providing bright, indirect light and well-draining soil creates the ideal baseline for rapid establishment.
Home growers can choose between leaf cuttings, stem cuttings, or water propagation depending on available material and preferred timelines. Each method requires specific handling to minimize rot risks while maximizing the survival rate of the resulting young succulents.
Leaf Propagation Fundamentals
Selecting Healthy Leaves
Choosing the right leaves is the most critical first step in successful jade plant propagation. Inspect the parent plant for plump, firm, and entirely blemish-free foliage located lower down on the main stems. Avoid leaves that appear yellow, wrinkled, or mechanically damaged by pests or physical impact.
Gently grasp the chosen leaf between your thumb and forefinger and pull it downward with a slight twisting motion until it snaps cleanly away from the stem. It is vital that the base of the leaf, including the small attachment point where it joined the stem, remains completely intact, because new roots and shoots typically emerge from this basal tissue.
The Callus Formation Stage
Once detached, place the leaves in a dry, warm, and well-ventilated area out of direct sunlight. Leaving them exposed to ambient air for several days allows the open wound at the base to dry out and form a protective scar tissue layer, known as a callus.
Skipping this crucial drying phase invites opportunistic pathogens and fungi to enter the moist interior plant tissues once contact is made with soil. A properly callused leaf will display a dry, slightly hardened, opaque seal across the broken end, indicating it is ready for placement.
Initial Rooting Conditions
Lay the callused leaves flat upon the surface of a dry, porous cactus and succulent potting mix rather than burying them deeply. Positioning them horizontally allows developing roots to easily anchor downward into the soil matrix while keeping the main leaf body elevated and dry.
Place the container in a warm spot receiving bright, indirect light. Mist the soil surface very sparingly once or twice a week even before roots are visible, ensuring the substrate dries out between applications to prevent rot while providing just enough ambient moisture to sustain the leaf.
When you are finished with jade leaves, you might also enjoy learning about propagating burros tail leaves for a trailing succulent variety.
When you master leaf propagation for jade plants, you can also propagate haworthia for succulent success in your indoor garden.
Stem Cutting Techniques
Choosing Stem Segments
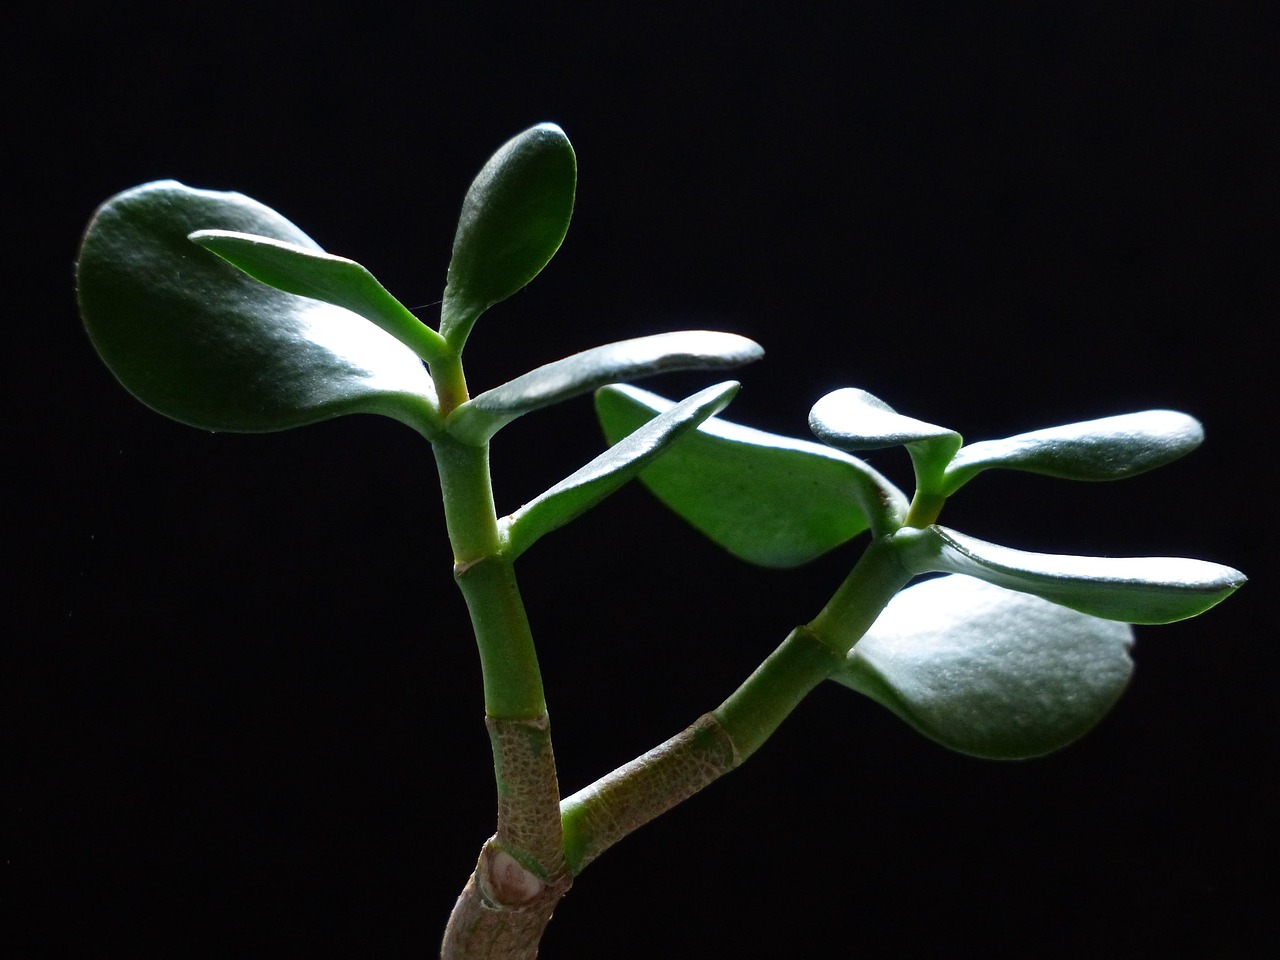
Stem cuttings provide a faster route to a substantial jade plant compared to starting from individual leaves. Select a healthy terminal stem branch that measures at least three to four inches long, featuring multiple robust leaf pairs and strong structural integrity along its length.
Examine the chosen branch for any signs of insect infestation, disease, or mechanical bruising. Healthy stems store ample internal energy reserves, which significantly enhances their ability to generate adventitious roots and resume active top growth under appropriate home cultivation conditions.
Making Clean Cuts
Utilize a sharp pair of pruning shears or a clean utility knife that has been sterilized with rubbing alcohol to prevent transferring pathogens. Make a clean, straight cut across the stem just below a leaf node, as this specific area contains high concentrations of active growth cells.
Strip away the lower leaves from the bottom inch or two of the newly severed stem segment. This bare stem section will be inserted into the rooting medium, preventing submerged foliage from rotting and compromising the health of the entire cutting.
Direct Soil Planting
Set the prepared stem cutting aside in a shaded, dry location for several days to allow the cut end to form a firm callus. Once sealed, insert the stem securely into a small pot filled with a specialized, fast-draining succulent soil mix, ensuring it stands upright without tipping.
Anchor the base firmly by gently pressing the soil around the stem, then withhold all watering for the first week to allow the plant to settle. Introduce very light moisture only after roots begin to anchor the stem within the container substrate.
Applying similar principles to other desert plants, you can explore cactus stem cutting methods to expand your indoor collection successfully.
Water Propagation Methods
Preparing Water Vessels
Water propagation is a popular alternative method that allows growers to monitor root development visually over time. Select a clean glass jar or narrow-necked vase and fill it with fresh, room-temperature tap water, leaving a small air gap at the top of the container.
Ensure the glass vessel is thoroughly washed to eliminate algae spores or bacterial residue that might contaminate the cutting. Narrow containers are particularly useful because they easily support the stem or leaf above the water line without letting it submerge completely.
Monitoring Water Levels
Position a callused stem cutting so that only the bare lower stem tip is in contact with the water, keeping the upper stem and leaves dry. Leaf cuttings are less reliably suited to water propagation and are generally better started on a dry soil surface. If water levels drop due to natural evaporation, top off the jar immediately to maintain consistent contact for the emerging root tips.
Change the water completely every week to prevent stagnation and limit bacterial build-up, which can impede root development. Cloudy or discolored water indicates bacterial growth, which requires an immediate container scrub and fresh liquid refill.
Transitioning to Soil
Once the water-grown roots reach approximately one to two inches in length, the cutting is ready to transition into a solid growing medium. Water-borne roots are generally more fragile than soil roots, so this transfer must be handled with considerable care to avoid snapping the delicate strands.
Plant the rooted cutting carefully into a small pot containing moist succulent mix, treating it gently during the initial potting phase. Water slightly more frequently than you would an established jade plant over the first few weeks, then gradually reduce frequency as the roots adapt to drawing moisture from soil rather than standing water.
Post-Propagation Care and Maintenance
Light and Temperature Needs
Young propagating jade plants require bright, indirect illumination to fuel growth without scorching tender, developing tissues. Placing them directly into harsh, scorching sun can quickly dehydrate unrooted cuttings or cause irreversible sunburn on newly emerged leaves and fragile stems.
Maintain consistent indoor ambient temperatures between sixty and seventy-five degrees Fahrenheit, keeping the containers away from drafty windows, air conditioning vents, or heating appliances. Stable thermal conditions promote steady cellular division and reduce environmental stress during establishment.
Watering Young Plants
Young jade plants possess very small root systems that dry out quickly but are simultaneously highly susceptible to overwatering damage. Utilize the soak-and-dry method, allowing the potting mix to dry out completely between thorough watering sessions to prevent root rot.
Avoid using misting bottles once established roots are present, as surface moisture on leaves does little to hydrate the plant and instead invites fungal problems. Pour water directly onto the soil surface until it drains freely from the bottom drainage holes.
First Repotting Steps
As the young jade plant expands and outgrows its initial propagation container, you will need to step it up into a slightly larger pot. Choose a container that is only one or two inches wider than the current root ball, ensuring it features functional drainage holes at the base.
Select a coarse, well-draining potting medium formulated specifically for cacti and succulents rather than heavy standard potting soil. Handle the root system carefully during the transfer, brushing away old spent mix and settling the plant firmly at its original soil depth.
After your new plants establish roots, you can review a helpful haworthia propagation care guide to ensure consistent long-term health.
Once your new succulents are established, you might want to learn how to propagate a cactus step by step.
Frequently Asked Questions
How long does it take for jade leaves to root?
Jade plant leaves typically begin showing visible roots and tiny secondary baby rosettes anywhere from two to six weeks after initial placement. This timeline fluctuates based on ambient room temperature, light intensity, and the overall health and maturity of the parent leaf.
Cooler indoor environments or lower light levels will naturally slow down the metabolic processes, extending the rooting period significantly. Patience is essential during this phase, as the mother leaf supplies stored reserves to the offsets until they develop enough leaf area to photosynthesize independently.
Why are my propagating leaves turning translucent and mushy?
Translucent, soft, or mushy leaves are the classic primary indicator of overwatering or rot during the propagation process. This usually happens when leaves are placed on damp soil prematurely, kept in poorly ventilated containers, or watered before roots have formed.
Unfortunately, once a propagating leaf turns completely mushy, recovery is very unlikely and the affected leaf should be discarded promptly to protect adjacent healthy cuttings. Adjust your moisture management by letting subsequent leaves dry out completely before any contact with soil moisture.
Do I need to use rooting hormone for crassula ovata?
Rooting hormone is generally not necessary when propagating Crassula ovata because jade plants possess exceptional natural regenerative capabilities. Healthy stem and leaf cuttings root reliably on their own under clean, warm, and properly managed environmental conditions without chemical additives.
However, if you choose to use a commercial rooting powder to potentially accelerate initial root development, apply a very light dusting exclusively to the callused cut end. Always tap off excess powder to avoid creating a localized medium that can invite fungal issues.