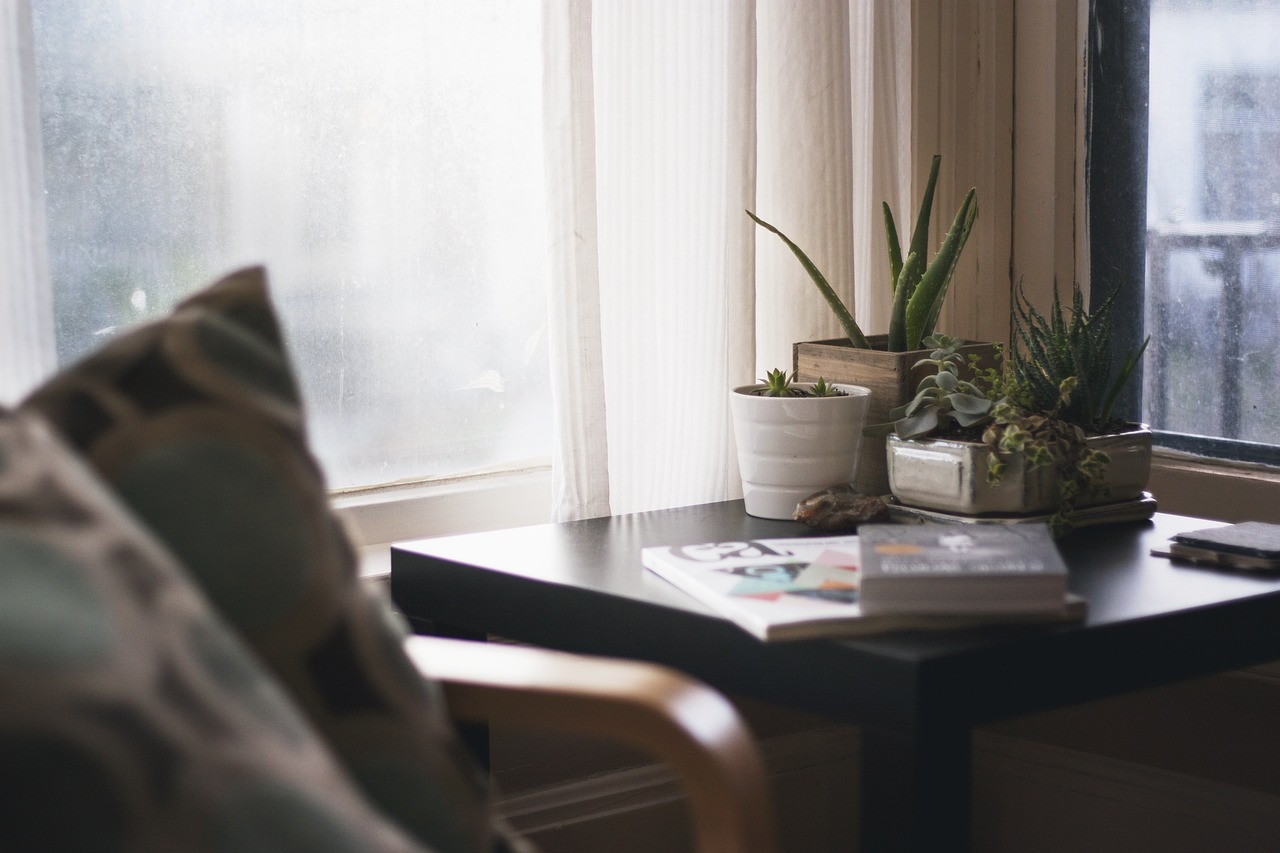
Adding drainage holes to ceramic pots is a practical modification that allows excess irrigation water to escape freely, preventing the saturated soil conditions that frequently lead to root rot in indoor houseplants. Many decorative ceramic containers are sold without drainage holes, functioning primarily as cachepots to hold nursery liners rather than direct planting vessels.
To safely drill through glazed or unglazed ceramic without shattering the vessel, you need a masonry drill bit or a diamond-tipped hole saw, a variable-speed drill, and water for continuous cooling. Taking your time, applying minimal downward pressure, and keeping the work surface wet will ensure a clean, functional drainage hole for your potted plants.
Understanding Ceramic Pots and Drainage Needs
Why Unglazed and Glazed Ceramics Differ
Unglazed ceramics, such as traditional terracotta, are porous materials that allow moisture and air to pass slowly through the container walls. This porosity affects how soil dries out compared to sealed containers.
Glazed ceramics feature a glass-like coating baked onto the surface, making them entirely non-porous. Because moisture cannot evaporate through the sides, internal drainage becomes much more critical for plant health.
The Risks of Container Pooling and Root Rot
When water accumulates at the bottom of a container without drainage holes, it creates a perched water table where soil remains continuously saturated. This lack of oxygen suffocates roots.
Anaerobic bacteria and fungi thrive in stagnant waterlogged soil. Once root systems begin to decay, the plant loses its ability to absorb water and nutrients, resulting in rapid decline.
Assessing Pot Thickness and Glaze Brittleness
Thick ceramic vessels require more patience and stable support during modification. The density of the fired clay directly influences how it responds to vibrational stress from power tools.
Glazes can chip or crack unpredictably if struck too hard or heated excessively by friction. Inspecting the underside of the pot helps identify existing structural flaws before you begin drilling.
When Drilling Is Necessary Versus Improvising
Drilling is essential if you intend to plant directly into a decorative ceramic container rather than using a plastic nursery pot inside it. Direct planting maximizes available soil volume.
While some growers rely on gravel layers at the bottom of non-drained pots, physical science demonstrates this does not prevent perched water tables. Adding a true hole remains the most reliable method.
Before modifying your containers, you should consider how large yellow ceramic flower pots fit into your overall display strategy and whether they actually require extra drainage.
Selecting the Correct Tools for Drilling Ceramics
Carbide Versus Diamond Tip Drill Bits
Carbide-tipped masonry bits are widely available and can cut through softer unglazed terracotta, provided the drill operates at a moderate speed with adequate cooling water applied continuously.
Diamond-coated hole saws or spear-point bits are vastly superior for hard glazed ceramics. The industrial diamond grit grinds away the glassy surface cleanly without catching or fracturing the material.
Choosing Appropriate Drill Bit Diameters
For small to medium pots, a drill bit measuring between one-quarter inch and one-half inch provides adequate water flow while retaining structural strength at the base of the container.
Larger pots may benefit from half-inch or three-quarter-inch holes to ensure swift drainage, especially when using chunky, coarse potting mixes that might otherwise clog small openings.
Safety Gear and Workspace Preparation
Drilling ceramics generates fine dust and sharp fragments. Always wear safety glasses and a dust mask to protect your eyes and respiratory system from crystalline silica particles.
Set up your workspace outdoors or in a well-ventilated garage on a stable workbench. Place a folded towel beneath the ceramic pot to absorb vibration and prevent sudden slips.
Variable Speed Cordless Drills Versus Hammer Drills
A standard variable-speed cordless drill is ideal because it allows you to maintain precise control over low rotational speeds. Never use the hammer function on a drill for ceramics.
The hammering action delivers sharp impacts that will instantly shatter fragile ceramic walls. Smooth, rotational grinding is the only safe technique for drilling pottery.
Step-by-Step Drilling Techniques for Pots
Surface Preparation and Masking Tape Methods
Smooth ceramic glazes provide very little traction, causing drill bits to slip and scratch the surface. Placing an X of masking tape over the intended drilling spot prevents this sliding.
The tape also helps anchor the diamond grit during the initial rotation, giving the bit a stable micro-groove to start cutting into the glaze without skidding across the base.
Managing Lubrication and Cooling with Water
Friction generates intense heat during the drilling process, which can crack thermal shock-sensitive ceramics and ruin expensive drill bits. Continuous water lubrication is absolutely vital.
Create a small dam of plumber’s putty around the drilling site and fill it with water, or have a helper apply a steady stream of water from a squirt bottle while you work.
Controlling Pressure and Drill Speed
Start the drill at a very slow speed, holding the tool perpendicular to the surface. Let the weight of the drill provide the downward force without pushing down with your hands.
Excessive downward pressure increases friction and stress, leading to immediate cracking. Patience and a gentle touch yield the cleanest holes in dense ceramic material.
Preventing Sudden Breakage at Breakthrough
As the drill bit nears the opposite side of the ceramic base, the remaining material becomes thin and prone to snapping out in a jagged chunk rather than a clean circle.
Ease up completely on any downward pressure during the final millimeter of the cut. Let the spinning bit gently wear away the last microscopic layer of clay safely.
Post-Drilling Inspection and Edge Smoothing
Removing Sharp Ceramic Burrs Safely
Freshly drilled holes often feature sharp edges and abrasive ceramic burrs on both the interior and exterior surfaces that could scratch hands or catch plant roots.
Use a fine-grit sandpaper, a small round diamond file, or a rubbing stone to gently smooth away these sharp ridges until the opening feels safe to touch.
Rinsing Residue and Fine Ceramic Dust
Drilling leaves behind a slurry of fine ceramic dust and grit that should not be left inside the container, as it can compact and seal the newly created drainage path.
Thoroughly wash the pot with clean water and a soft brush, ensuring all loose particles are rinsed out before adding any potting mix or planting your specimen.
Checking for Micro-Fractures and Structural Integrity
Inspect the bottom and sides of the pot closely under bright light for any hairline fractures that may have formed during the vibrational stress of the drilling process.
Tap the side of the pot gently with your fingernail; a clear ringing sound indicates structural soundness, whereas a dull thud often points to an unseen internal crack.
Applying Pot Sealants If Required
If you drilled through unglazed clay and want to minimize mineral efflorescence or slow down evaporation rates, you can apply a breathable ceramic sealer to the interior walls.
Ensure any applied sealants are completely non-toxic and fully cured before introducing soil and roots to prevent chemical leaching into the root zone environment.
Managing Pots with Newly Added Drainage
Selecting Appropriate Potting Mixes
Pots with proper drainage require well-aerated potting mixes that balance moisture retention with rapid excess water discharge. Avoid heavy garden soils that compact easily.
Incorporate perlite, pumice, or orchid bark into peat- or coir-based substrates to create porous pathways that complement your newly drilled drainage hole effectively.
Choosing Saucers and Catchment Trays
Because water will now escape freely from the bottom of your ceramic pot, you must pair it with a suitable saucer or catchment tray to protect indoor furniture and surfaces.
Empty standing water from the saucer within fifteen minutes of watering to prevent the pot from reabsorbing drained salts and sitting in stagnant runoff.
Initial Watering Tests and Flow Checks
Before placing delicate houseplants in your freshly modified container, perform a test by pouring water through the empty pot over a sink to verify the flow rate.
Ensure water exits cleanly without leaking from unexpected cracks and that the hole is large enough to prevent clogging by dense soil particles during routine irrigation.
Long-Term Maintenance of Drilled Containers
Over time, mineral deposits from tap water can accumulate around the drainage hole, slightly restricting the outward flow of excess moisture during heavy waterings.
Periodically inspect the underside of your ceramic containers during routine maintenance sessions, clearing away any salt crusts or debris to maintain optimal drainage function.
Frequently Asked Questions
Can I drill holes in ceramic pots without a special drill bit?
It is strongly discouraged to use standard wood or metal drill bits on ceramic pots because they will dull instantly and fail to cut the material. Diamond-tipped or carbide masonry bits are specifically engineered to grind through hard, brittle ceramics safely without slipping or ruining your equipment.
Why do ceramic pots crack while drilling, and how can I prevent it?
Cracking usually occurs due to excessive downward pressure, overheating from friction, or using a drill speed that is far too high. Prevent cracks by keeping the work area continuously wet with water, using a slow variable speed, and letting the weight of the drill do the work.
Do I need to use water while drilling through glazed ceramic?
Yes, water is essential as a coolant and lubricant when drilling through glazed ceramic or porcelain. The intense friction generated by diamond bits creates rapid heat spikes that can thermal shock the ceramic, causing fractures. Water washes away debris and keeps temperatures low.
What size drainage hole should I drill for a medium houseplant pot?
A drainage hole measuring between one-quarter inch and one-half inch in diameter is generally ideal for most medium-sized houseplant pots. This size permits quick water escape while remaining small enough to be covered easily by a mesh screen or coffee filter to retain soil.
Is it safe to drill a drainage hole in a pot with a plant already inside?
No, you should never attempt to drill a pot with a plant already inside it. The heavy vibrations, water splash, and risk of accidental tool slips will damage the root system and stress the plant. Always empty the pot completely before performing any modifications.
How do I clean up the fine ceramic dust generated during drilling?
The fine dust produced when drilling ceramics contains silica, which should not be inhaled. Wear a dust mask while working, and clean up the wet slurry with paper towels or rinse it away outdoors with a hose before the residue has a chance to dry and harden.