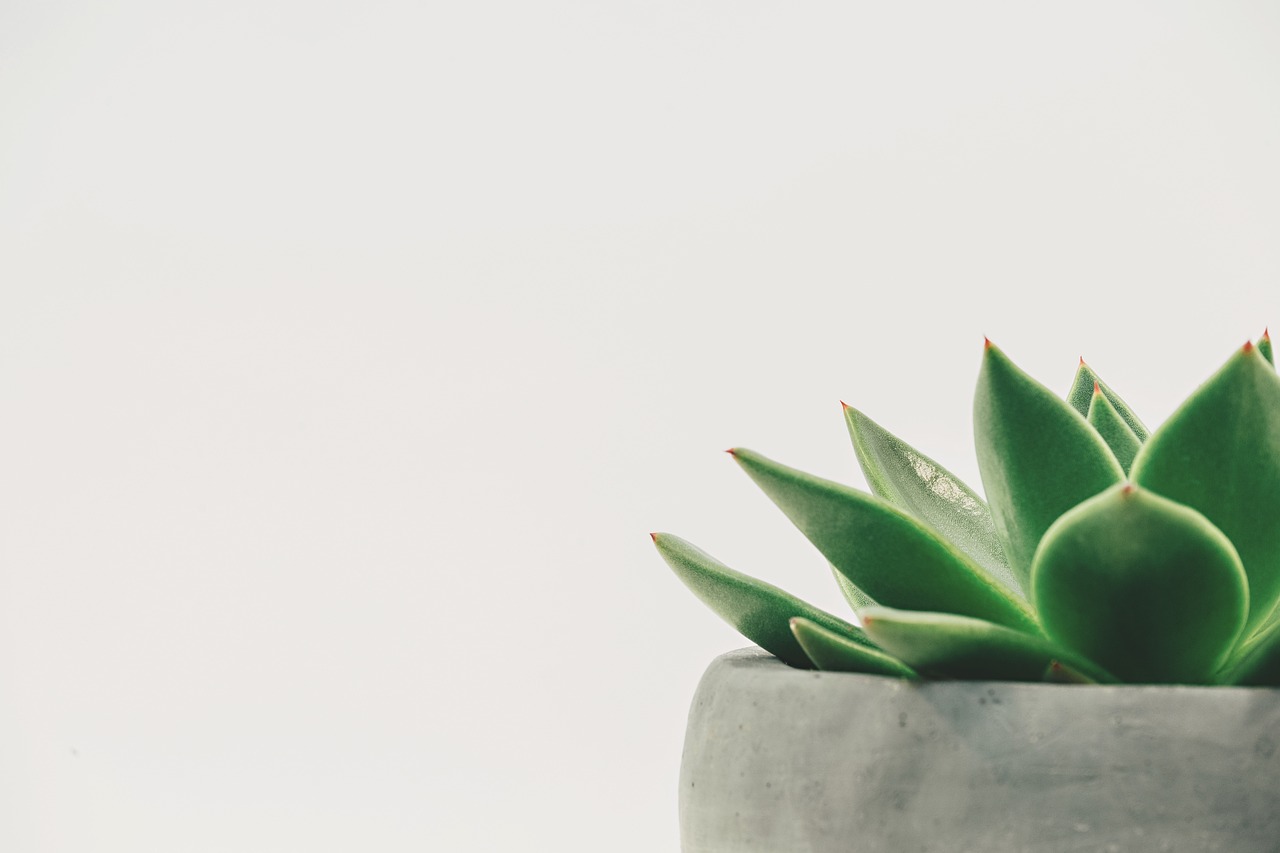
Propagating succulents from cuttings is a reliable and straightforward method to multiply your indoor plant collection without purchasing new specimens. By taking leaf or stem cuttings from healthy parent plants, you can easily grow independent roots and establish thriving new pots on your windowsills or shelves.
Success depends on understanding basic botanical principles, including clean cuts, proper callous development, and well-draining soil mixes. This guide covers the complete step-by-step process of preparing, planting, and nurturing succulent cuttings through their initial rooting and growth phases.
Selection and Preparation of Succulent Cuttings
Identifying Healthy Parent Plants
Choose parent plants that are actively growing, free of pests, and showing no signs of rot or disease. Firm, plump leaves and sturdy stems provide the best energy reserves for developing new roots.
Inspect the target stem or leaf carefully under good light. Look for vibrant coloration and robust cellular structure, which directly correlate with higher survival rates during the propagation process.
Taking Clean Stem Cuttings
Use sterilized pruning shears or a sharp utility knife to remove a 2- to 4-inch section of the stem. Make a clean, straight cut just below a node or set of leaves where dormant growth cells are concentrated.
Remove the lower leaves from the bottom inch or two of the stem cutting. Leaving a bare stem makes it much easier to insert the cutting into the potting medium without burying foliage, which reduces rot risks.
Selecting and Pulling Leaf Cuttings
Gently grasp a mature, healthy leaf near the base and wiggle it side to side until it detaches cleanly from the main stem. It is critical that the entire leaf base remains intact, including the tiny growth node where new roots emerge.
Disregard any leaves that snap in half or leave a piece of the base behind on the parent stem. Damaged leaves rarely produce successful roots and tend to decay quickly when placed on propagation soil.
Hygiene and Tool Sterilization
Always sanitize your cutting tools with rubbing alcohol or a mild bleach solution before and after taking material from different plants. Clean tools prevent the accidental transmission of viral, bacterial, or fungal pathogens between specimens.
Wiping blades clean is an essential practice that protects both your valuable parent plants and your newly developing cuttings from avoidable infections during vulnerable tissue exposure.
Before taking your snips, it helps to understand succulent propagation when to plant for the highest success rate.
Before starting your project, it helps to understand when to plant your cuttings for the best results.
Drying, Callus Formation, and Medium Selection
Allowing Cuttings to Form a Callus
Place your freshly taken stem and leaf cuttings in a warm, dry, and well-ventilated area out of direct sunlight. Allowing the cut ends to dry and form a protective callous is essential before introducing them to any moisture.
Callus formation typically takes anywhere from two to seven days, depending on ambient humidity and the thickness of the stem. You will know the cutting is ready when the wound appears dry, sealed, and slightly corky.
Formulating the Right Potting Medium
Succulent cuttings require a porous, fast-draining medium that prevents moisture from sitting against vulnerable tissues. A standard potting mix combined with equal parts perlite, pumice, or coarse horticultural sand works exceptionally well for rooting containers.
Avoid using heavy garden soil or standard moisture-retaining potting composts. These dense materials hold too much water, suffocating developing roots and drastically increasing the likelihood of fungal decay and stem rot.
Choosing Appropriate Containers
Select shallow nursery pots, seedling trays, or small terracotta containers featuring adequate drainage holes at the bottom. Shallow containers dry out at a more uniform rate, matching the moisture needs of young, shallow root systems.
Ensure that your containers are thoroughly cleaned and sanitized before filling them with the fresh soil mix. Clean vessels help prevent the introduction of pathogens that can easily overwhelm vulnerable unrooted cuttings.
Amending Soil with Inorganic Grit
Incorporating inorganic materials such as crushed lava rock, chicken grit, or coarse perlite into your custom soil mix enhances aeration. Good airflow around the developing subterranean structures supports vigorous root growth.
Balancing organic components with high percentages of inorganic grit ensures that the propagation substrate replicates the porous conditions found in natural succulent habitats.
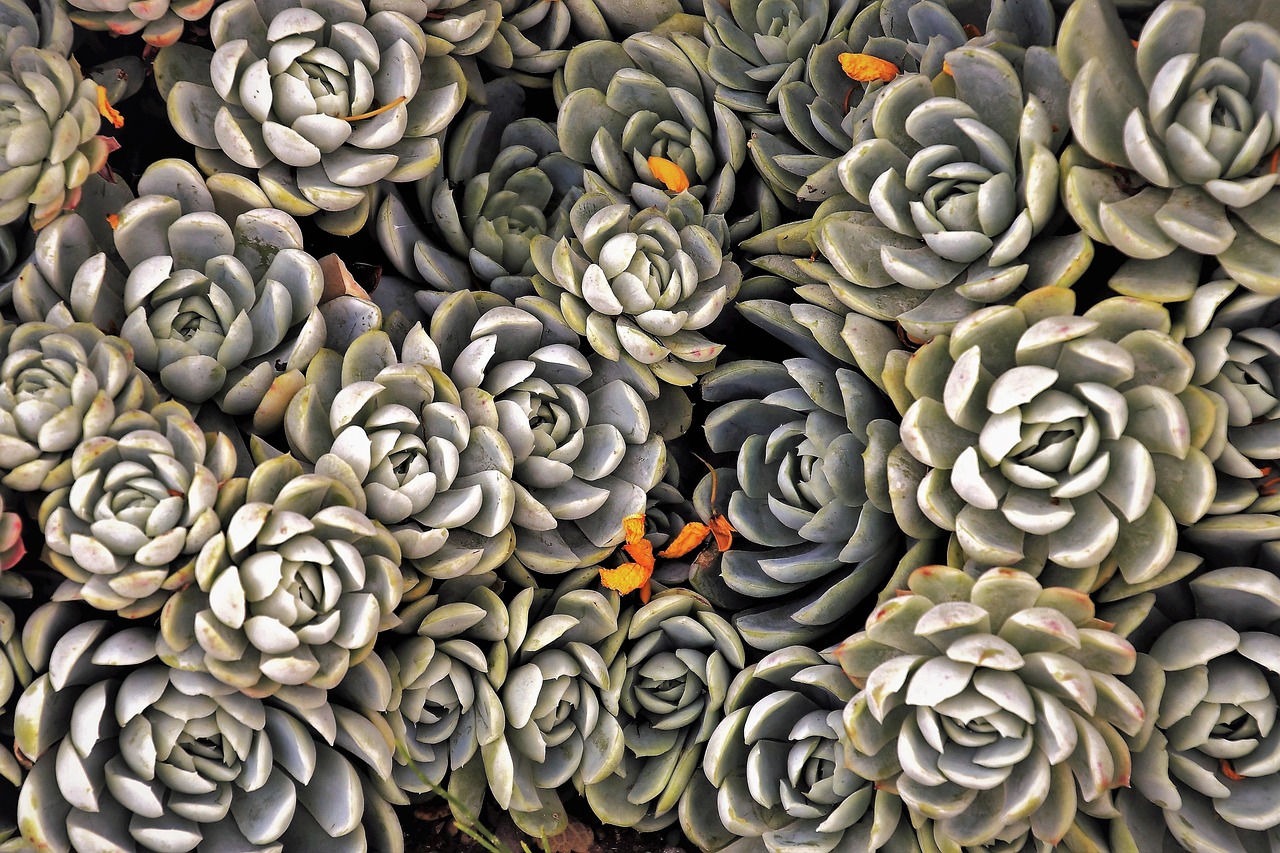
If you want to expand your collection, learning how to propagate haworthia follows a very similar process.
Planting Techniques and Initial Positioning
Planting Stem Cuttings in Soil
Fill your prepared container with the dry, well-draining potting mix up to half an inch below the rim. Poke a small pilot hole in the soil with a pencil or your finger, then gently insert the callused end of the stem cutting.
Firm the surrounding soil gently around the stem to hold it upright. Ensure that any remaining leaves rest above the soil surface to prevent moisture accumulation and subsequent rotting against the pot rim.
Laying Out Leaf Cuttings
Leaf cuttings do not need to be buried in the soil. Instead, lay them flat on top of the dry potting mix, ensuring the broken end makes light contact with the substrate surface where roots will eventually form.
Arrange multiple leaves in a circle or neat rows across the surface of the container, leaving enough space between them so that new baby plantlets have room to expand as they grow.
Providing Optimal Initial Light
Place your newly planted cuttings in a bright location that receives plenty of indirect sunlight. Direct, harsh sun can scorch unrooted cuttings and dry out delicate leaf bases before roots have a chance to establish.
An east-facing windowsill or a spot shielded by a sheer curtain is generally ideal during the first few weeks. Consistent bright light encourages strong cellular development without imposing thermal stress on the plant material.
Arranging Trays for Maximum Airflow
Space out your propagation containers in an area that experiences gentle, natural air circulation. Good ventilation helps prevent stagnant moisture from accumulating around the foliage and soil surface.
Avoid crowding multiple trays tightly together on crowded shelves, as restricted airflow creates a humid microclimate that encourages mold development and premature cutting failure.
Once roots develop in water, you can carefully plant your cuttings in soil to continue growing.
Watering, Moisture Management, and Rooting Stages
Understanding Initial Moisture Requirements
Keep the propagation medium completely dry for the first week or until visible roots begin to form on the cuttings. Unrooted plant material cannot absorb water through roots, making moisture in the soil entirely unnecessary and risky.
Once roots become visible or gentle tugging reveals slight resistance, introduce minimal moisture. Lightly mist the soil around the base of the cuttings or apply a few drops of water directly to the root zone.
Transitioning to Regular Watering Routines
As root systems become more established over the first month, transition to a soak-and-dry watering method. Water the soil thoroughly until it runs out of the drainage holes, then allow the mix to dry out completely before watering again.
Never let succulent cuttings sit in standing water within saucers or trays. Excess standing water deprives roots of oxygen and rapidly induces root rot, which is fatal to young succulent plants.
Monitoring Root and Plantlet Development
Observe your cuttings patiently as they undergo the rooting process. Stem cuttings typically generate roots within two to three weeks, while leaf cuttings may take slightly longer to push out tiny pink roots followed by miniature rosettes.
Leave mother leaves attached to leaf cuttings until they completely dry up and fall off naturally. The mother leaf supplies essential nutrients and moisture to the growing baby plantlet throughout its early developmental stages.
Avoiding Common Overhydration Pitfalls
Resist the urge to water propagation trays frequently just because the top layer of soil looks dry. The soil deeper down retains moisture much longer, and chronic dampness prevents fragile roots from reaching outward.
Always verify soil dryness deep beneath the surface using a wooden toothpick or moisture meter before applying additional water to young succulent plants.
Long-Term Transition, Potting Up, and Common Troubleshooting
Recognizing When to Repot
When your rooted cuttings have outgrown their initial shallow nursery containers or propagation trays, it is time to move them into individual small pots. Look for crowded roots or steady top growth as indicators that a larger home is needed.
Gently ease the young plants out of their medium, taking care not to snap fragile young root networks. Brush away compacted soil and prepare standard succulent potting mix in your permanent decorative or functional containers.
Diagnosing Common Propagation Failures
If cuttings turn yellow, translucent, or mushy, they are experiencing rot caused by excessive moisture or uncallused cuts. Discard rotting pieces immediately to prevent the spread of fungal pathogens to neighboring healthy cuttings.
If leaves wrinkle and dry up without producing roots, the environment is likely too dry or warm. Slightly increase ambient humidity or provide filtered light while ensuring minimal hydration is supplied once roots begin showing.
Seasonal Timing for Best Results
The optimal time to take and plant succulent cuttings is during their active growing season, which is typically spring or early summer. Longer daylight hours and warm temperatures accelerate rooting and overall establishment.
Propagating during late autumn or winter is possible indoors, but cooler temperatures and lower light levels will significantly slow down root development and increase the duration required for successful establishment.
Acclimating Young Plants to Adult Conditions
Gradually introduce your established young succulents to stronger light levels and slightly longer intervals between waterings as they mature. Sudden shifts from gentle propagation environments to harsh outdoor sun can cause severe sunburn.
Patience during this transition phase ensures that your newly propagated plants develop thick, resilient cuticles and strong structural integrity for long-term indoor durability.
Gardeners sometimes encounter issues like cuttings growing leaves but not roots during the early establishment phase.
Frequently Asked Questions
Do I need to use rooting hormone on succulent cuttings?
Rooting hormone is generally not required for most common succulents like Echeveria, Sedum, and Crassula, as they contain natural growth regulators that enable them to root easily on their own. However, applying a light dusting of rooting powder to stem cuttings can sometimes slightly accelerate root emergence in slower-growing or woody varieties.
Can I propagate succulents straight into water?
Water propagation is a popular alternative method where suspended stem cuttings develop water roots above a liquid reservoir. While effective for some species, these water-grown roots can experience shock when eventually transitioned to soil, making direct soil propagation a more reliable option for long-term plant health and structural adaptation.
Why are my leaf cuttings turning brown instead of growing roots?
Browning and crisping usually indicate that the leaf was exposed to too much direct, harsh sunlight or insufficient humidity before roots could form. Additionally, leaves pulled without the vital growth node intact will simply dry out and die rather than producing a new rosette. Make sure to keep leaf propagations in bright, indirect light.
How often should I water my newly planted succulent cuttings?
Newly planted stem and leaf cuttings should be kept entirely dry for the first week or until visible roots appear. Once roots have formed, water sparingly whenever the potting mix is completely dry, gradually shifting to a standard soak-and-dry watering schedule as the plants establish stronger root systems.
Should I cover my succulent cuttings with a plastic dome?
Covering succulent cuttings with a plastic dome or humidity tent is generally discouraged for most common varieties. Succulents naturally thrive in dry air with good ventilation; trapping high humidity around unrooted leaves and stems significantly increases the risk of fungal decay, mold growth, and rapid tissue rot.
When can I move my baby succulents into individual pots?
You can safely move baby succulent plants into individual pots once their root systems are well-established and the original mother leaf has completely shriveled and detached. This usually occurs two to four months after initial propagation, depending on the specific succulent species and your indoor growing conditions.