Yes, you can successfully bottom water plants using a diluted fertilizer solution. This method allows the growing medium to absorb moisture and nutrients evenly from the bottom drainage holes through capillary action.
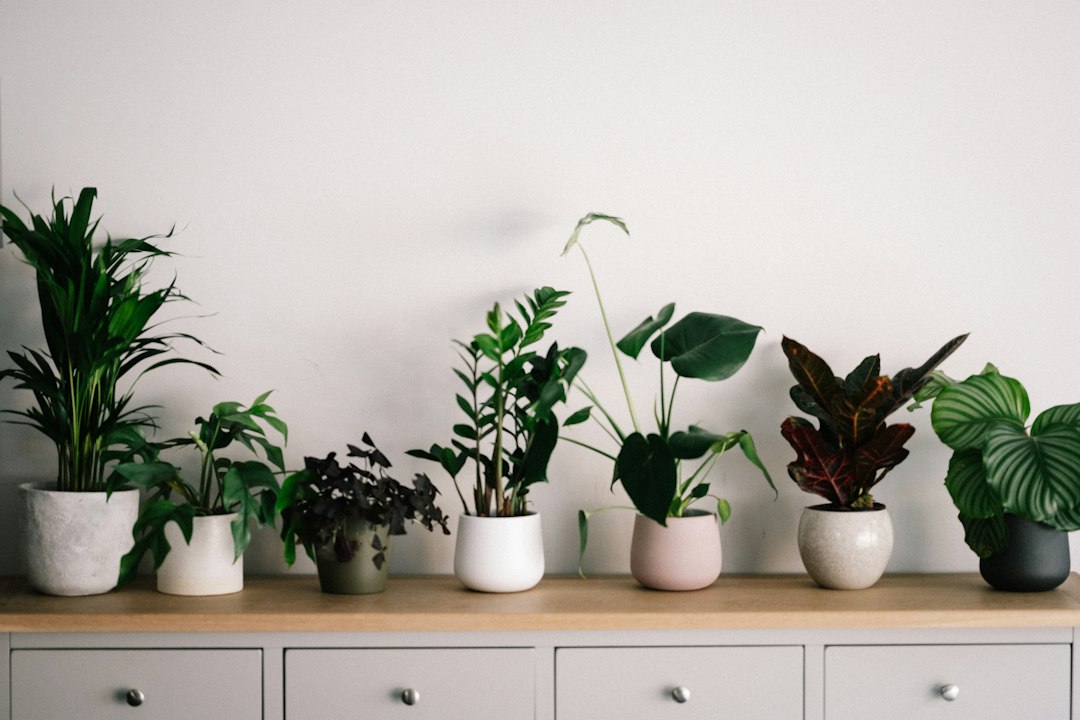
Applying plant food this way prevents the common issue of dry pockets forming in dense potting mixes. It also keeps the surface soil relatively dry, which helps discourage fungus gnats from laying eggs in moist topsoil.
However, successful execution requires careful management of fertilizer concentrations and periodic top-flushing. Without proper maintenance, mineral salts can accumulate at the soil surface, potentially damaging delicate roots over time.
Mechanics of Sub-Irrigation and Nutrient Uptake
Capillary Action Basics
Capillary action is the primary physical process that makes bottom watering effective. Tiny spaces between soil particles act like micro-tubes, pulling moisture upward against gravity.
When dissolved nutrients are mixed into the water, they travel right along with the moisture. This ensures that the entire root zone receives an even distribution of essential minerals without requiring top-down drenching.
Root Zone Absorption Rates
Roots absorb water and nutrients simultaneously as the wetting front moves upward through the container. The rate of absorption depends heavily on the porosity of the potting mix and ambient temperature.
Substrates with small, continuous pore spaces provide steady capillary rise once moistened, though dry peat can initially resist wetting. In contrast, coarse mixes containing chunky orchid bark have wide air gaps with weak capillary draw, often requiring deeper water in the basin to reach root levels.
Water Movement Dynamics
Water moves from areas of high moisture to dry regions within the pot through matric potential. As lower soil layers saturate, moisture continues to climb toward the surface layers via continuous films.
Stopping
the process before the topsoil feels slightly damp indicates incomplete saturation. Monitoring the surface moisture level serves as a reliable visual indicator that the upward migration is finished.
Preparing the Nutrient Solution for Bottom Watering
Measuring Fertilizer Ratios Safely
Accurate measurement prevents fertilizer burn when delivering nutrients via sub-irrigation. Start with a diluted solution—frequently half or quarter of the general container rate on the product label—rather than guessing amounts.
Using too much product creates a concentrated chemical environment at the root zone. Because bottom watering drives all dissolved salts upward, highly concentrated mixtures quickly cause severe root damage.
Water Temperature Considerations
Water temperature plays a crucial role in how efficiently roots take up dissolved nutrients. Lukewarm water is generally preferable because cold water can reduce root uptake rates in some species and may stress sensitive root systems.
Allowing tap water to sit out overnight can bring it closer to room temperature and may help dissipate free chlorine in some supplies. Note that chloramine, used in many municipal water systems, does not dissipate this way; if your supplier uses chloramine, this step has limited effect on chemical content.
Mixing and Consistency Checks
Thoroughly mixing the fertilizer ensures an even distribution of macronutrients and micronutrients in the basin. Incomplete mixing creates localized hotspots of high mineral concentration that harm roots.
Stirring liquid or water-soluble powder completely into the container before placing the plant inside prevents direct contact between undissolved granules and the bottom roots resting near the drainage holes.
Managing Salt Buildup and Soil Chemistry
Mineral Accumulation Risks
Regularly bottom watering plants with fertilizer inevitably leads to mineral salt accumulation near the soil surface. As water evaporates from the top layer, it leaves behind unabsorbed salts and chemical residues.
Over time, these accumulated salts form a visible white crust on top of the potting mix. If left unchecked, this high salinity draws moisture away from upper roots and causes tip burn on foliage.
Periodic Top-Flushing Practices
To counteract surface salt buildup, incorporate periodic top-flushing into your regular plant care routine. Every few months, water the plant thoroughly from above, letting excess water drain completely out.
This traditional top-watering technique dissolves accumulated mineral residues and flushes them out through the bottom drainage holes. Always discard the run-off water immediately to prevent roots from reabsorbing it.
pH Stability in Standing Basins
Fertilizer solutions left sitting in open basins can experience shifts in chemical composition and pH over time. Preparing fresh solutions for each watering session maintains optimal nutrient availability for plants.
Extremes in pH lock out vital elements like iron and phosphorus, even when they are present in the soil. Using fresh, properly balanced water mixtures prevents unintended nutrient deficiencies in potted specimens.
Best Practices for Specific Plant Types
Foliage Plants and Aroids
Indoor foliage plants like monsteras and philodendrons can do well with bottom-fed fertilizer when grown in chunky, well-aerated potting mixes that absorb nutrient solutions without staying waterlogged. Results depend on the specific mix, pot, and growing conditions.
Monitor these tropical specimens to ensure the pot is removed from the basin once the topsoil feels slightly moist. Leaving them submerged too long can lead to oxygen deprivation in lower soil strata.
Succulents and Drought Tolerant Species
Succulents require a cautious approach when combining bottom watering with liquid fertilizers. Because these plants store water in their leaves, they need significantly fewer nutrient applications than tropical foliage.
Fertilize succulents only during their active growing season, and extend the soaking intervals. Their gritty soils absorb moisture quickly, meaning they only need to sit in the basin for a brief duration.
Delicate Ferns and Seedlings
Ferns and young seedlings possess extremely sensitive root systems that scorch easily from high fertilizer concentrations. When bottom watering these plants, cut the recommended fertilizer dose in half.
The gentle capillary action of sub-irrigation protects fragile stems and fronds from physical damage. However, strict adherence to diluted nutrient levels remains essential to prevent chemical toxicity in delicate specimens.
When managing container gardens, you might wonder if you can bottom water terracotta pots without damaging the porous clay.
Frequently Asked Questions
How long should pots sit in fertilized water?
Many potted plants absorb adequate moisture within roughly fifteen to thirty minutes, though the actual time varies considerably with pot size, potting medium, and how dry the mix is. Treat this as a rough starting point rather than a fixed rule.
Check the surface of the soil with your finger after twenty minutes. Once the top layer feels damp to the touch, lift the container out of the basin and let any excess solution drip away completely.
Can I reuse leftover fertilizer solution?
It is generally best to discard leftover fertilizer solution rather than saving it for future watering sessions. Standing nutrient mixes can harbor pathogens, algae, or fungal spores over time.
Additionally, plants absorb specific elements at different rates, altering the chemical balance of the remaining liquid. Mixing a fresh, accurately measured batch for each watering guarantees consistent nutrition for your plants.
Why are white crusts forming on my soil surface?
White crusts on the soil surface indicate mineral salt deposits left behind by evaporating moisture. Because bottom watering draws water upward, dissolved fertilizer salts naturally migrate to the driest point.
You can easily remove this crust by gently scraping away the top layer of soil and replacing it with fresh mix. Prevent future accumulation by occasionally flushing the pot thoroughly from the top down.
How frequently should I use fertilizer when bottom watering compared to traditional top-watering?
You should generally maintain the same overall feeding schedule regardless of whether you bottom water or top water your potted specimens. For most active indoor houseplants during the spring and summer growing seasons, fertilizing every two to four weeks is standard. However, because sub-irrigation delivers dissolved nutrients directly and efficiently to the root system without immediate runoff, you should watch your plants closely for signs of over-fertilization.
Because issues like brown leaf tips or slower growth can also stem from improper lighting, low humidity, or watering imbalances rather than excess fertilizer alone, evaluate the whole plant and check for salt buildup before altering your feeding regimen. During autumn and winter, many indoor plants slow their growth in response to reduced light and cooler temperatures, requiring fewer supplemental nutrients. Rather than following a rigid calendar, monitor active growth and reduce or pause feeding if the plant is not actively putting out new foliage or roots.
Can I bottom water a plant in a decorative pot without drainage holes if I add fertilizer?
You cannot successfully bottom water a container that lacks functional drainage holes, regardless of whether you are using plain water or a specialized fertilizer solution. Sub-irrigation entirely relies on open bottom openings to let the growing medium draw moisture upward through capillary action. Placing a solid, un-drained decorative pot into a basin of liquid prevents water from entering the pot entirely, leaving the root ball dry while only wetting the outside of the container.
Furthermore, adding fertilizer to standing water in a sealed container creates a stagnant chemical environment that traps unabsorbed minerals and rapidly encourages root rot. Always use a nursery pot with functional drainage slots inside your decorative cachepot. Lift the nursery pot out whenever you need to feed via sub-irrigation, and allow it to drain thoroughly before placing it back.
How can I tell if the fertilizer solution has reached the top soil layer during soaking?
The most reliable way to confirm that your fertilizer solution has fully migrated through the pot is to gently press your finger a knuckle deep into the topsoil. If the surface medium feels cool and slightly damp to the touch, capillary action has successfully pulled the moisture and dissolved nutrients all the way to the top layer.
Avoid judging completion purely by time elapsed, as potting mix densities vary widely between different plant varieties. If the surface remains completely dry after thirty minutes, your substrate might be severely hydrophobic or tightly compacted. In such cases, you may need to break surface tension by top-watering lightly once or repotting into a fresher, more porous soil blend.
What should I do if green algae or mold grows in my bottom-watering basin?
Algae and mold growth in your soaking basin typically results from leaving diluted fertilizer standing in warm, brightly lit areas for too long. Organic components in water-soluble fertilizers feed these unwanted organisms when exposed to light. To resolve this, thoroughly scrub and disinfect your basin with mild soap and warm water after every single feeding session.
Always discard any remaining liquid immediately after your plants finish absorbing what they need rather than letting it sit out. Storing your mixing containers in a clean, dry cupboard when not in use also prevents spores from settling. Keeping your equipment sanitized protects your indoor plants from introducing unwanted pathogens into the root zone.
How often should I perform a plain water flush when regularly using fertilizer via sub-irrigation?
As a rough guideline, performing a thorough top-down flush with plain, unfertilized water every four to six weeks can help manage salt buildup if you regularly bottom water with plant food, though the appropriate interval varies with fertilizer strength, watering frequency, and the plant’s uptake rate. Because bottom watering does not flush salts out through drainage the way top watering does, salts left behind by evaporation accumulate in the upper root zone over time.
Flushing resets the soil chemistry by dissolving these accumulated mineral crusts and carrying them completely out of the drainage holes. Simply take your potted plant to a sink or tub, pour a generous amount of plain water through the topsoil, and let it run completely clear before returning the plant to its display spot.